
 AYA
AYAGoogleアナリティクスの設定方法を説明します!
Googleアナリティクスは、
アクセス分析やブログ改善をするために欠かせないツールです。
ブログを立ち上げたら、
Googleサーチコンソールとともに
初めに設定を済ませてしまいましょう!
この記事では、
- Googleアナリティクスの登録方法
- ワードプレスにGoogleアナリティクスを設置する方法
- Googleサーチコンソールとの連携設定
- Googleアナリティクスの初期設定
この4つを解説します。
設定する上でやることが多いのですが、
一つずつ終わらせれば簡単に設定できます。
早速はじめましょう!
Googleアナリティクスに登録する方法
アナリティクスアカウントにログインする
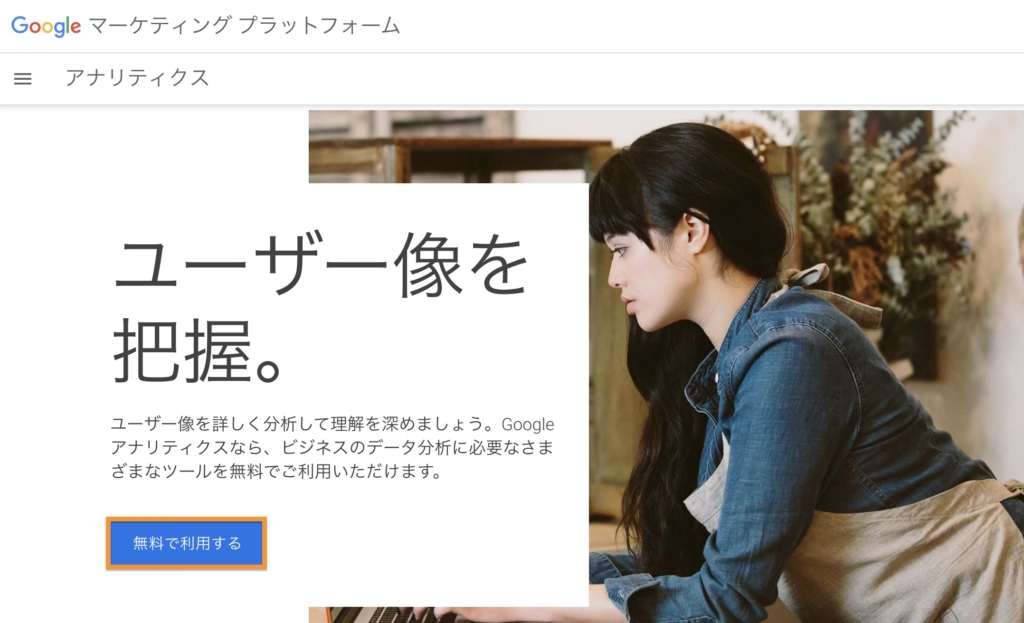
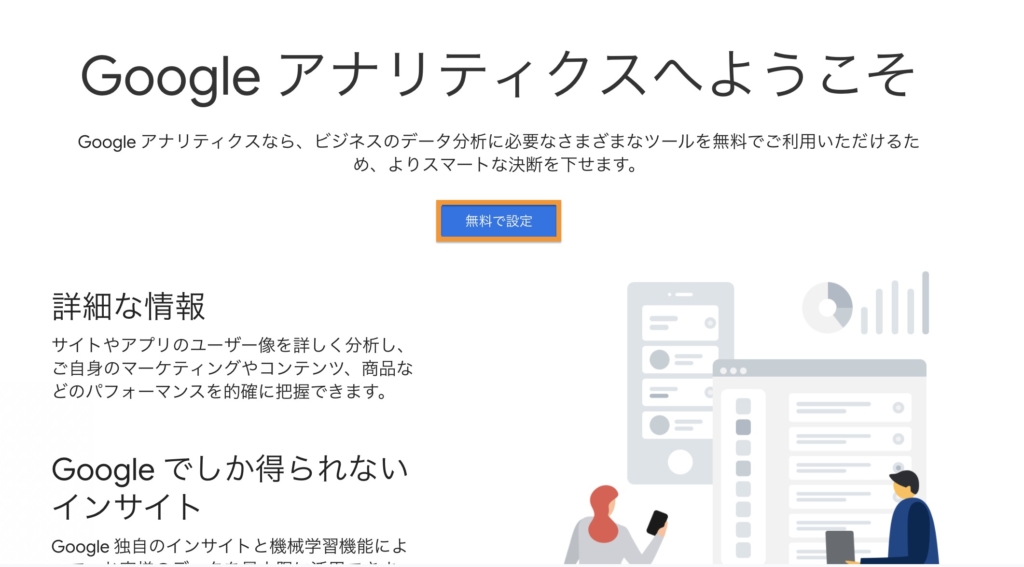
まずはじめにGoogleアナリティクスにアクセスします。
「無料で利用する」をクリックします。
アカウント設定をする
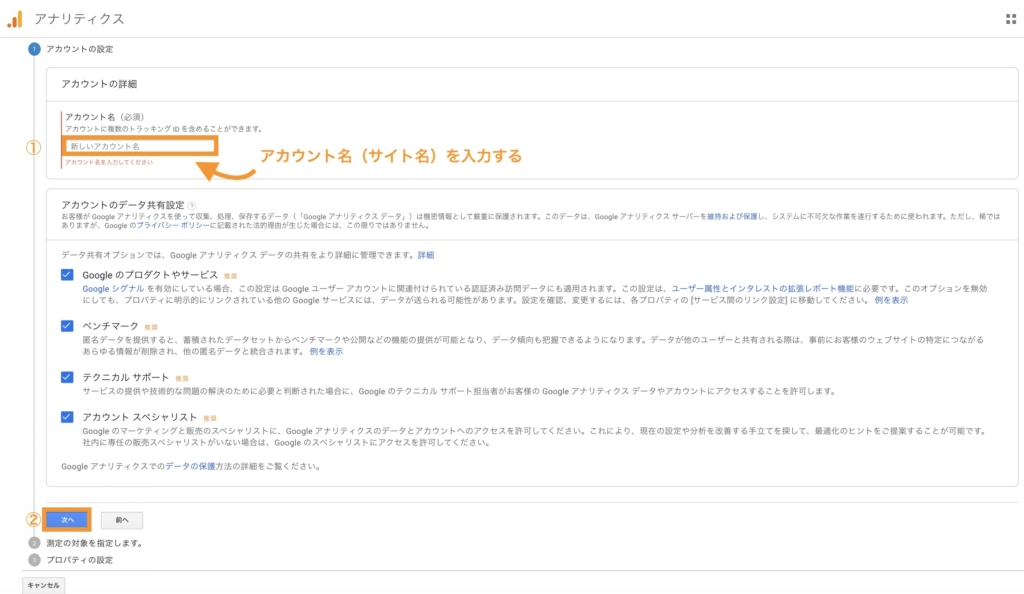
アカウント名(ブログ名)を入力して
ページ下部の「次へ」をクリックします。
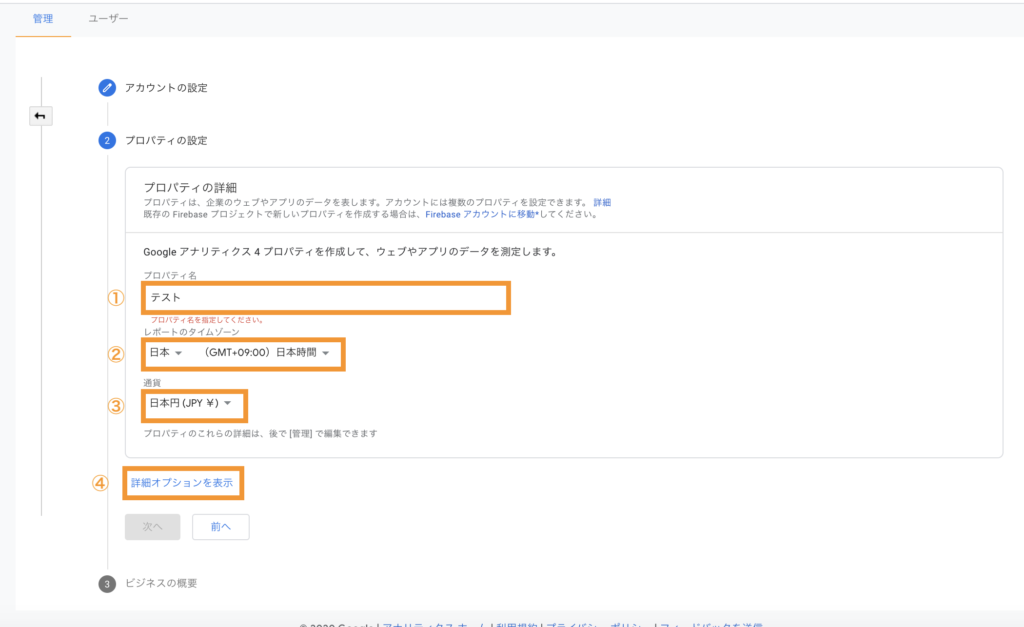
- プロパティ名:なんでもOK!ブログ名と合わせておきましょう。
- レポートのタイムゾーン:「日本」を選択
- 通過:「日本円」を選択
- 詳細オプションを表示をクリックする
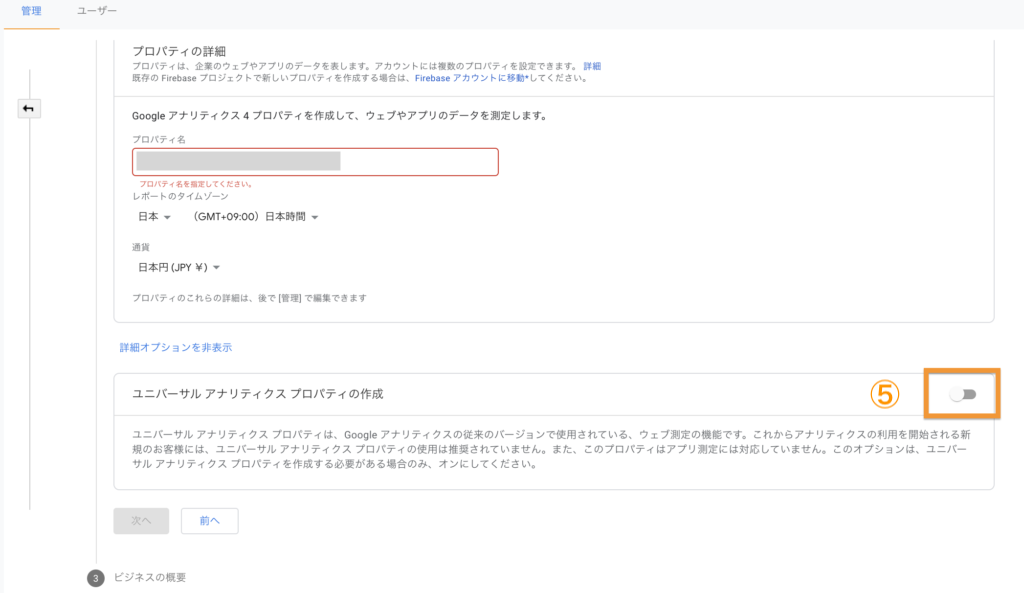
- 「ユニバーサル アナリティクス プロパティの作成」をクリックして有効化します。
(有効化すると青色になります。)
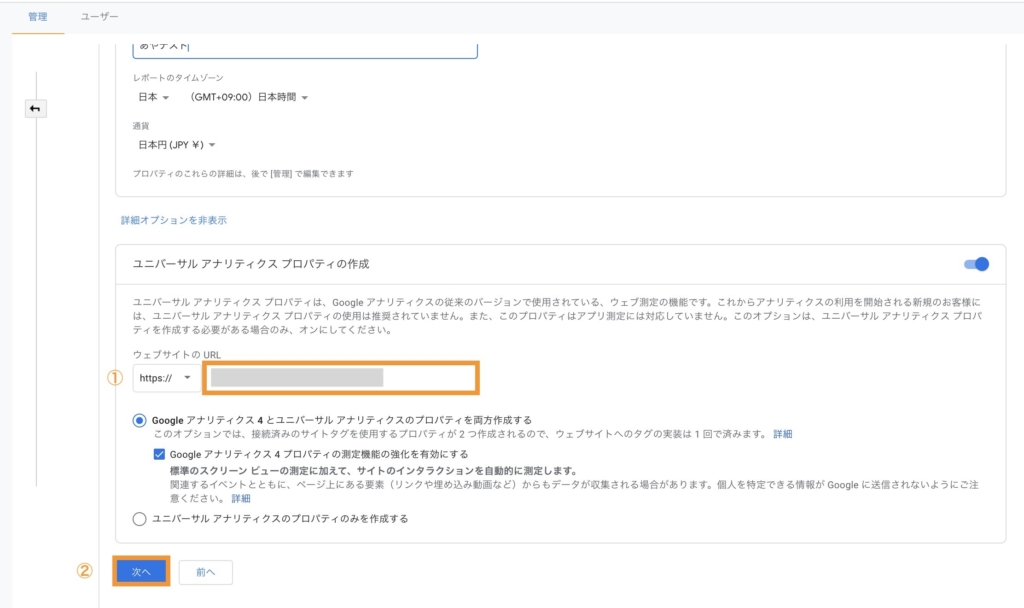
- ウェブサイトのURL:「https://」を選択し、ブログのURLを入力する
- 次へをクリックする
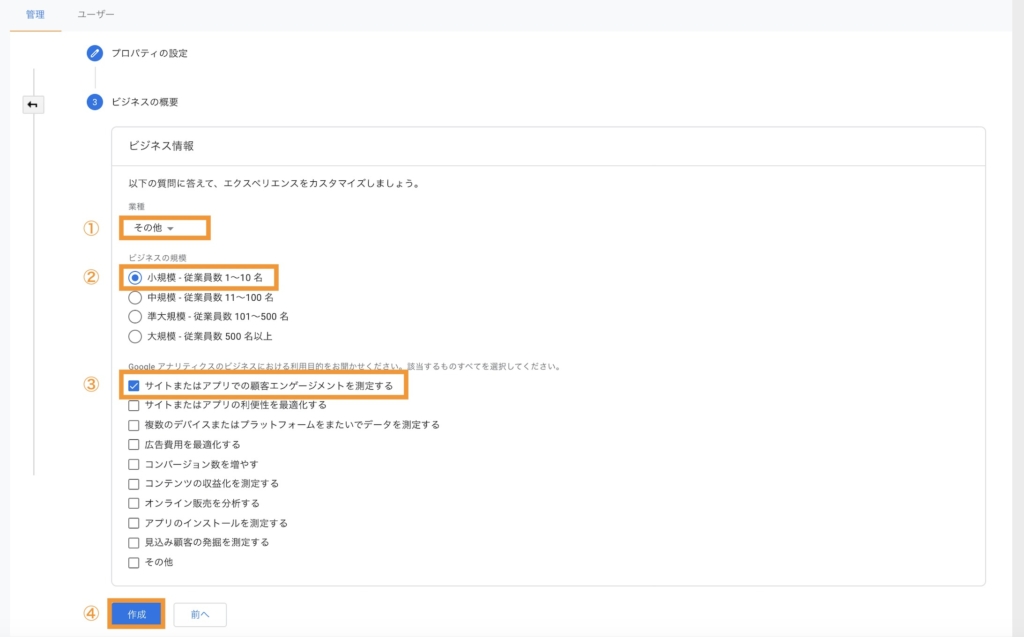
- 業種:近いジャンルを選ぶ
- ビジネスの規模:「小規模」を選択
- 利用目的:「サイトまたはアプリでの顧客エンゲージメントを測定する」を選択
- 「作成」をクリックする
アナリティクスの利用規約に同意する
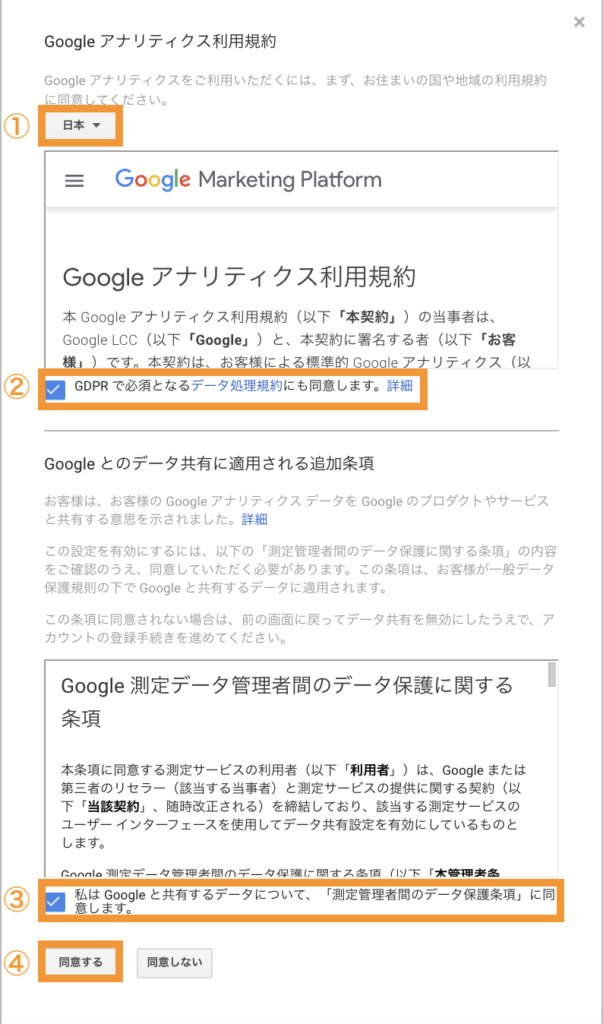
- 日本を選ぶ
- チェックを入れる
- チェックを入れる
- 「同意する」をクリックする
「興味はない」をクリックでOK!
Googleアナリティクスに登録できたら、
次はワードプレスにアナリティクスの設置をしましょう。
ワードプレスにアナリティクスを設置する
アナリティクスのIDをコピーする
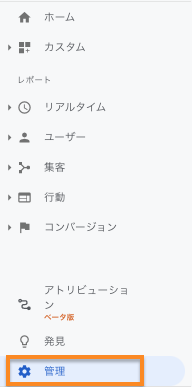
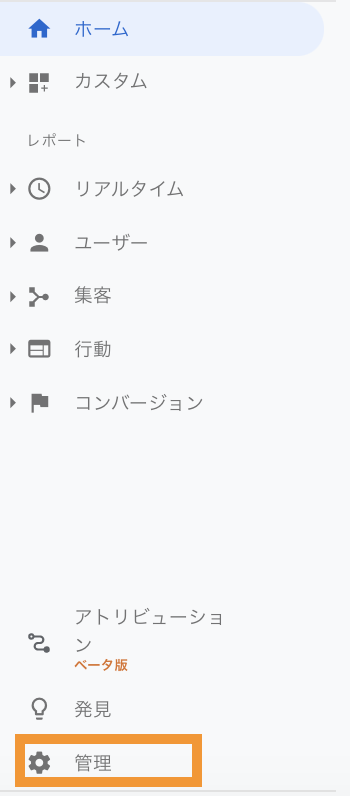
左下の「管理」をクリックします。
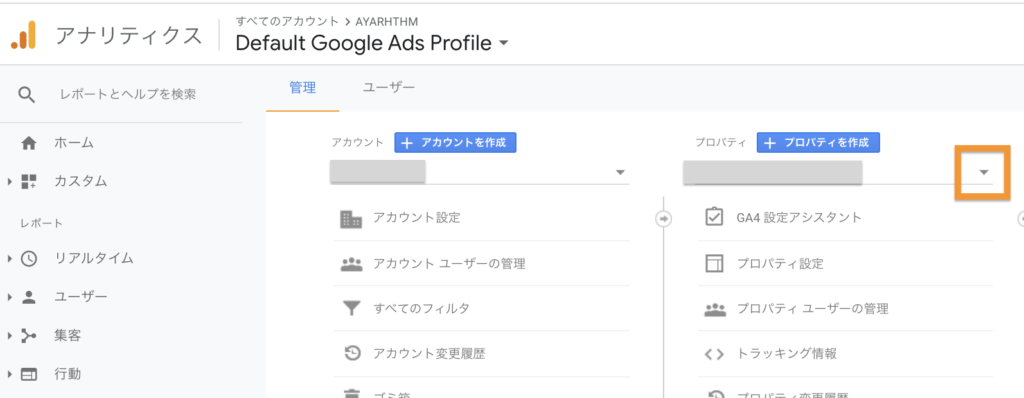
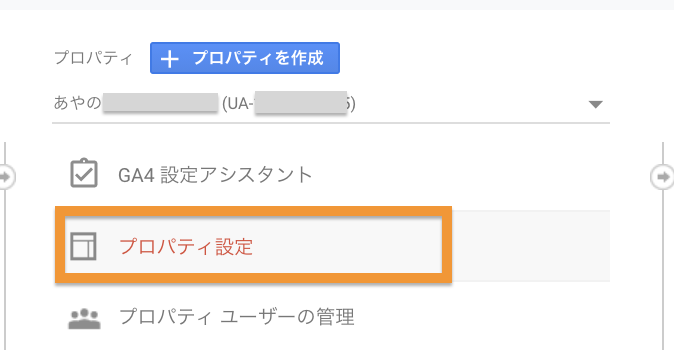
「プロパティを作成」のすぐ下の欄にある▼をクリックします。
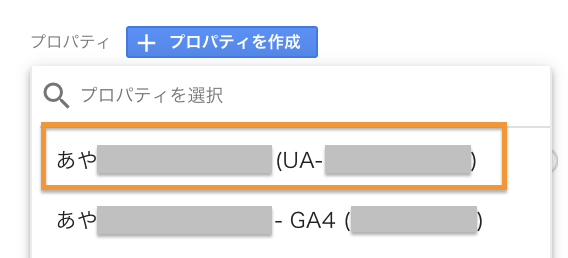
すると、プロパティが2つ作成されているので(UAとGA4)、「UA-XXX…」を選択します。
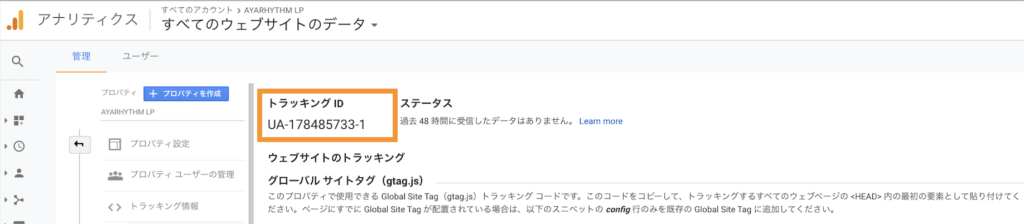
「プロパティ設定」を選択します。
「トラッキングID」をコピーします。
ワードプレスに設置する
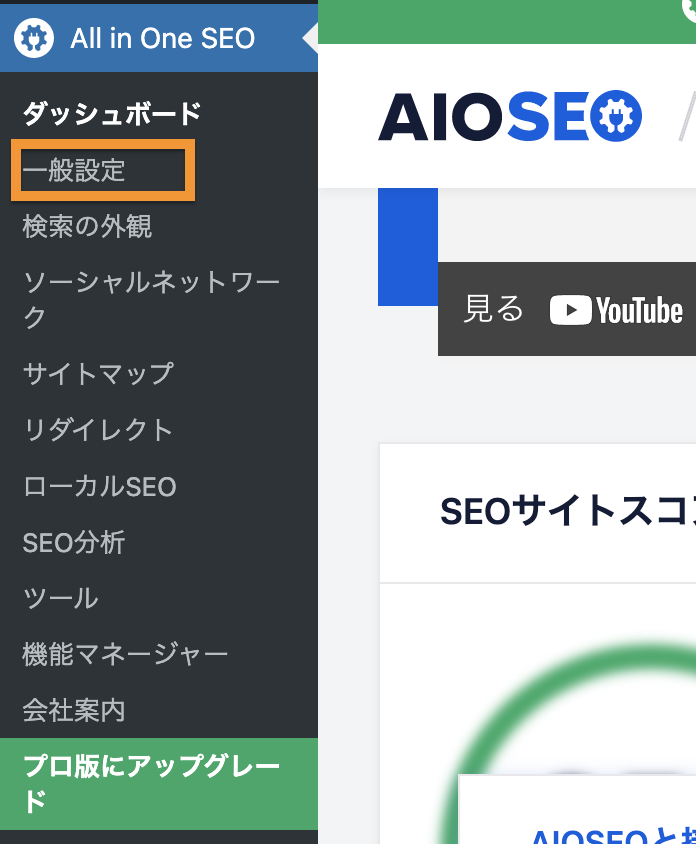
「ダッシュボード」>「All in One SEO」>「一般設定」をクリックします。
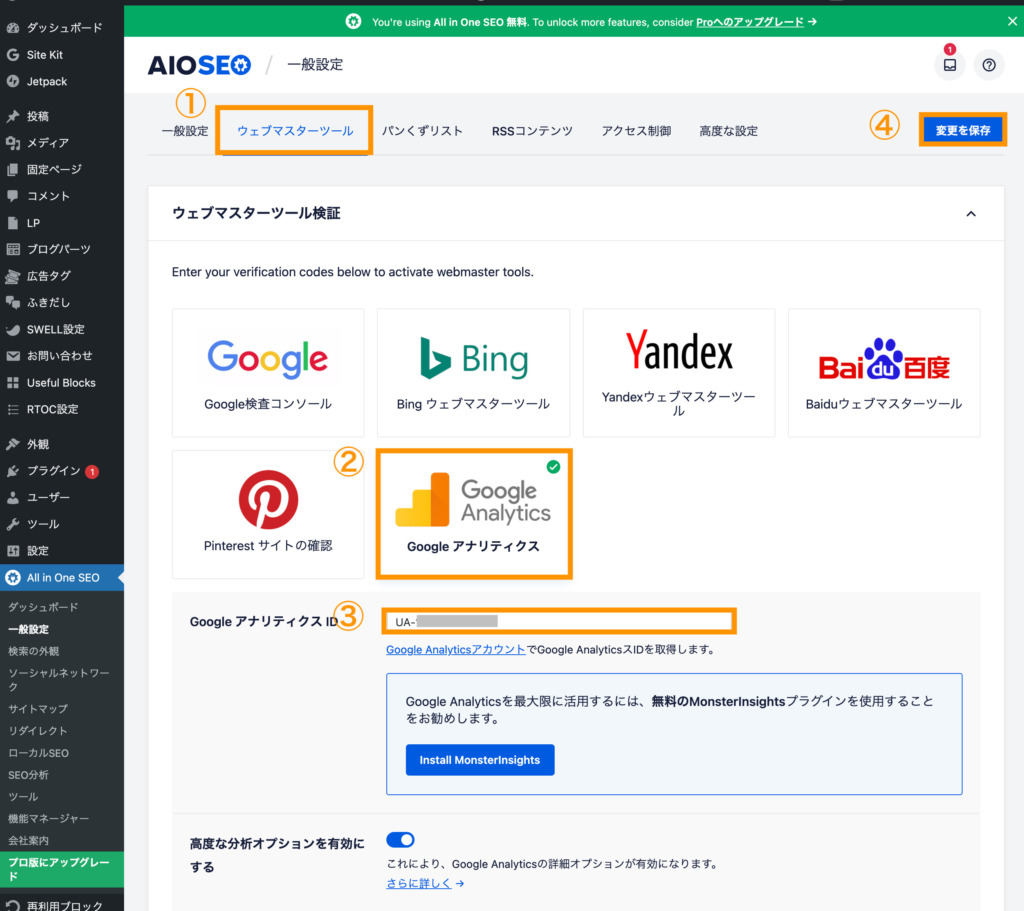
- ウェブマスターツールをクリック
- Googleアナリティクスをクリック
- GoogleアナリティクスIDに、先ほどコピーしたID(UA-〇〇)を貼り付ける
アナリティクスが正常に動いていることを確認する
アナリティクスの「ホーム」をクリックし、
アナリティクスが正常に動いていることを確認します。
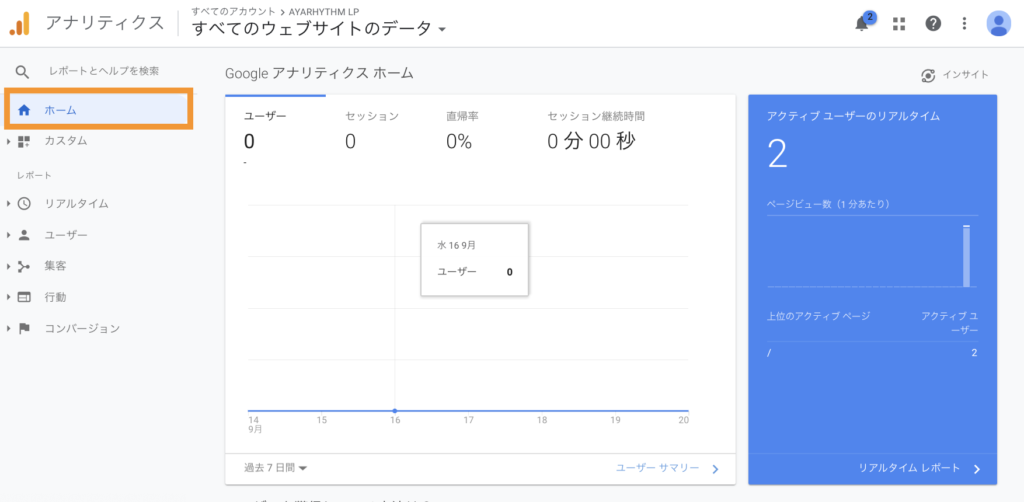
ご自身のブログを開くと、
アナリティクスの右側にある「リアルタイム」に
1や2などご自分がアクセスしている状況が表示されます。
Googleサーチコンソールとの連携設定
Googleサーチコンソールの登録をする
まずはこちらのサーチコンソールの登録をしましょう。
こちらの記事で登録方法を解説しています。
登録を終えたら、この記事に戻ってきましょう。
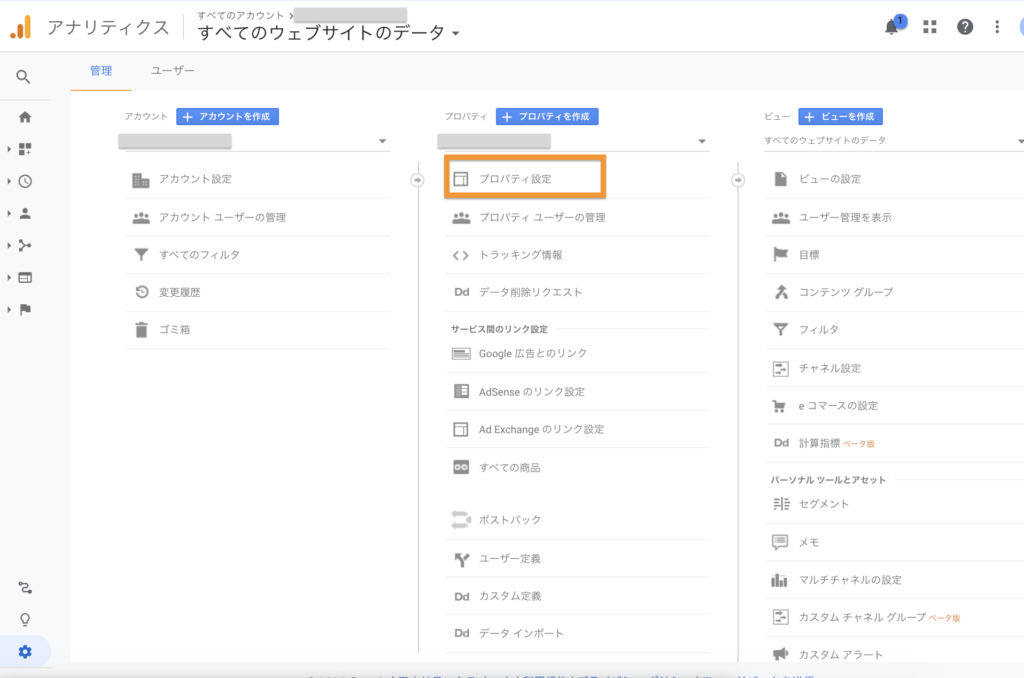
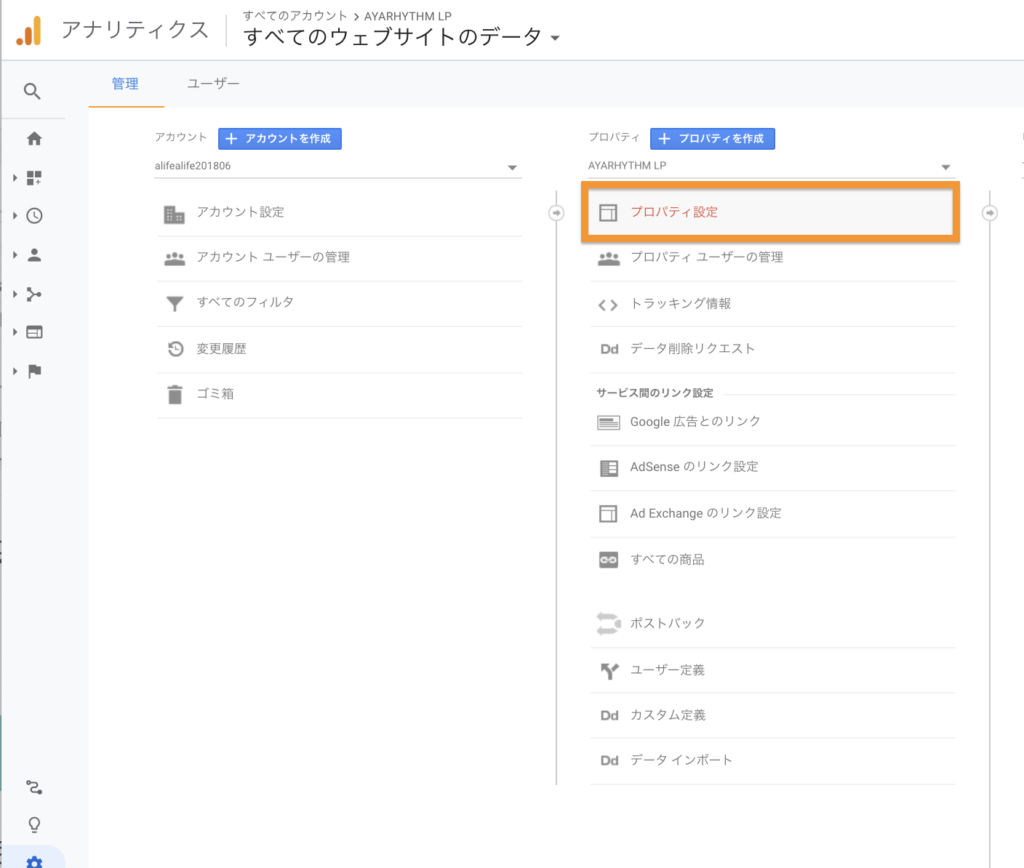
管理画面からプロパティ設定をクリック
「管理画面」>「プロパティ設定」をクリックしましょう。
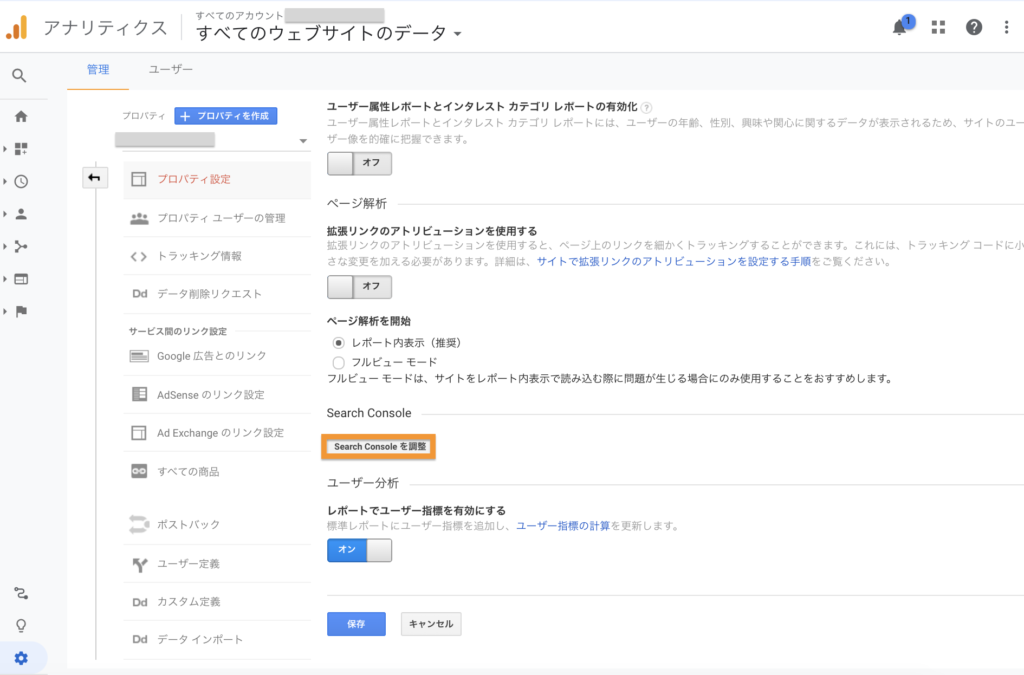
Search Consoleを調整をクリック
「プロパティ設定」の画面内で
「Search Consoleを調整」をクリックします。
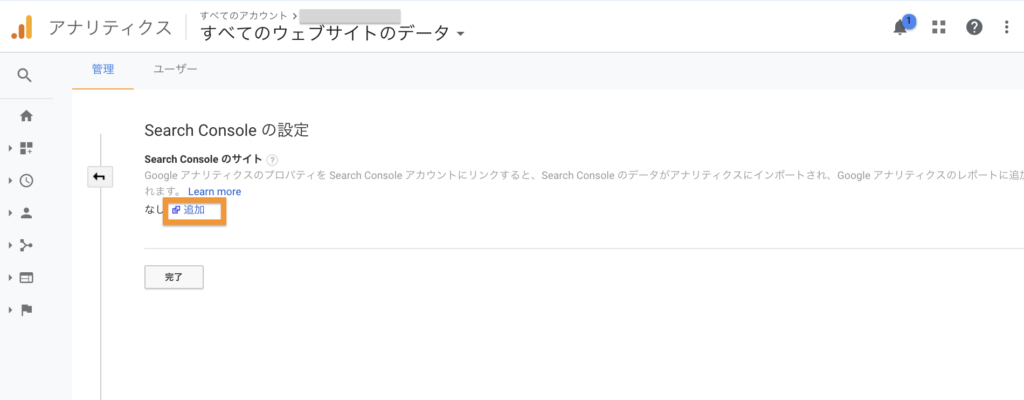
Search Consoleのサイトを追加
「Search Consoleの設定」の画面に移行したら、
「追加」をクリックしましょう。
連携可能なサイトが表示されます。
該当のドメインにチェックをいれ、
「保存」をクリックしましょう。
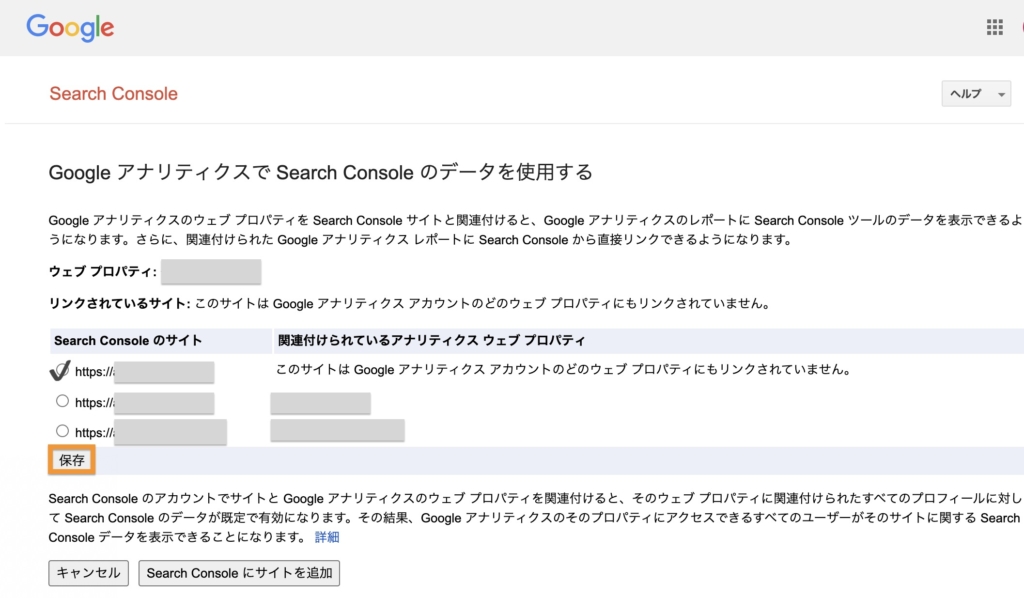
「保存」をクリックすると
サーチコンソールの画面に移動しますが
閉じてしまって問題ありません。
アナリティクスの初期設定をする
自分のIPを除外設定する
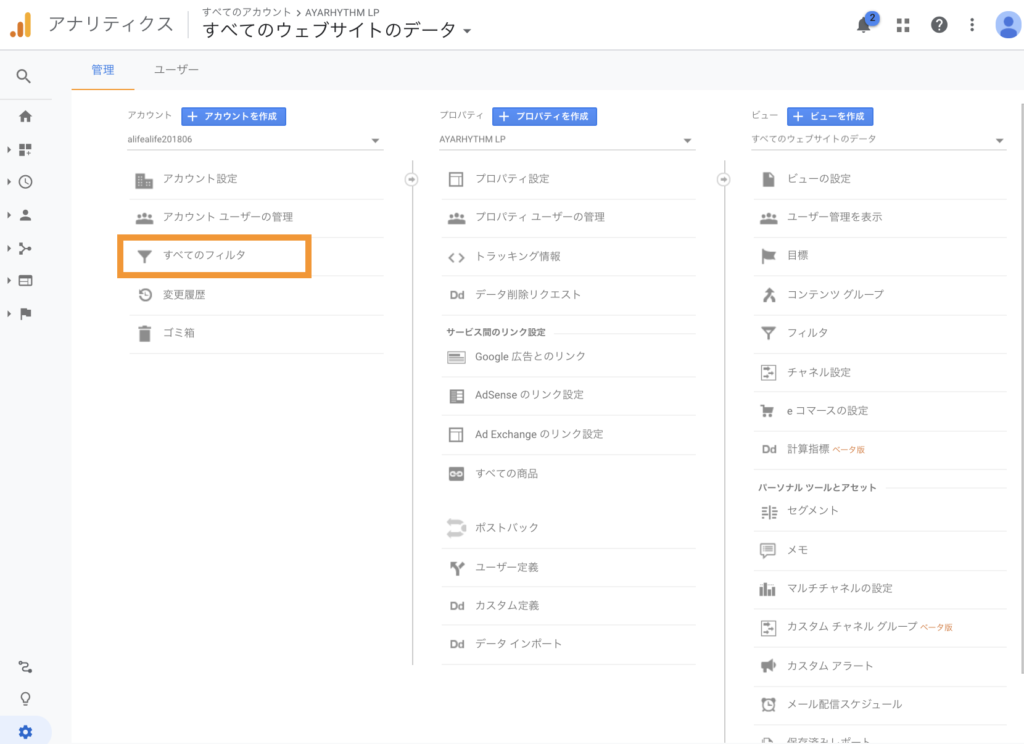
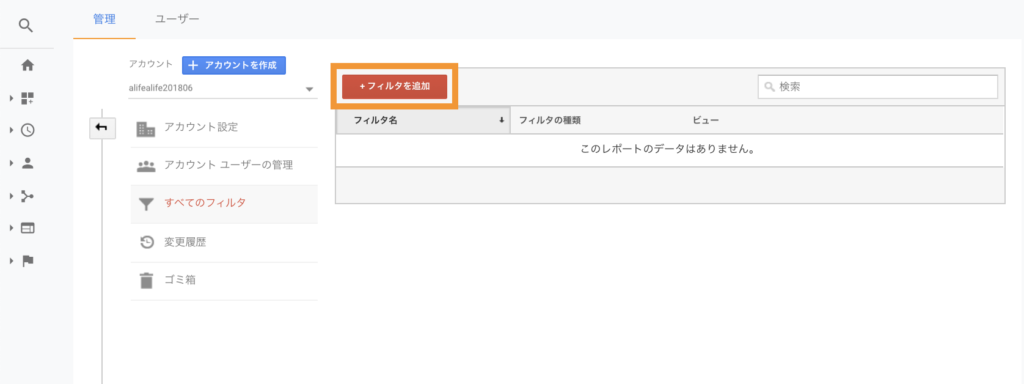
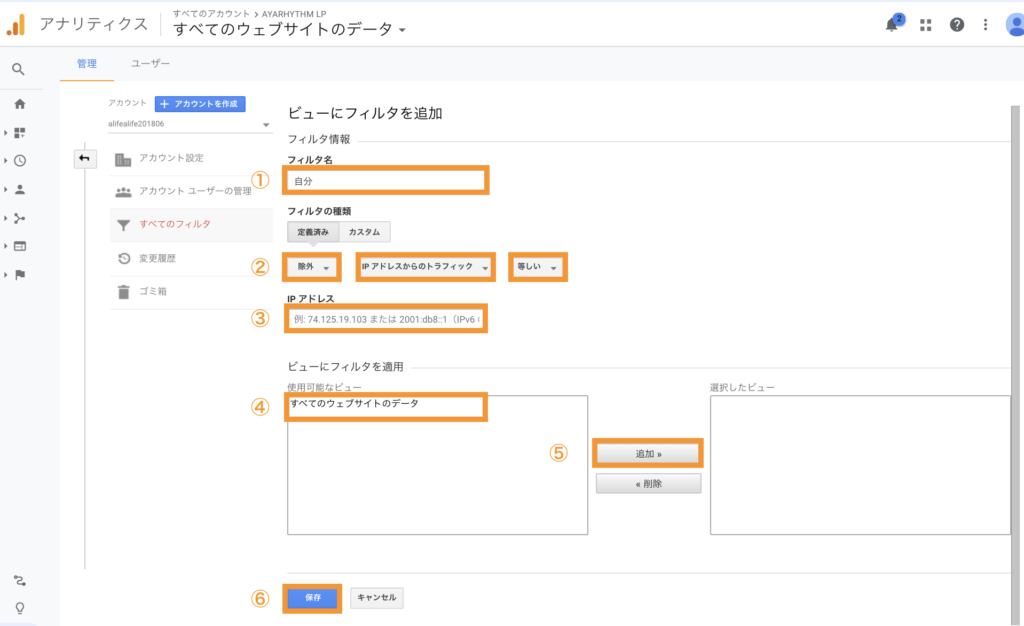
- フィルタ名を入力する
- フィルタの種類で「定義済み」を選択し、
「除外」「IPアドレスからのトラフィック」「等しい」を選択 - IPアドレスを入力
- 「すべてのウェブサイトのデータ」を選択
- 「追加」をクリック
ご自分のIPアドレスを調べるには、
こちらのサイトから調べられます。
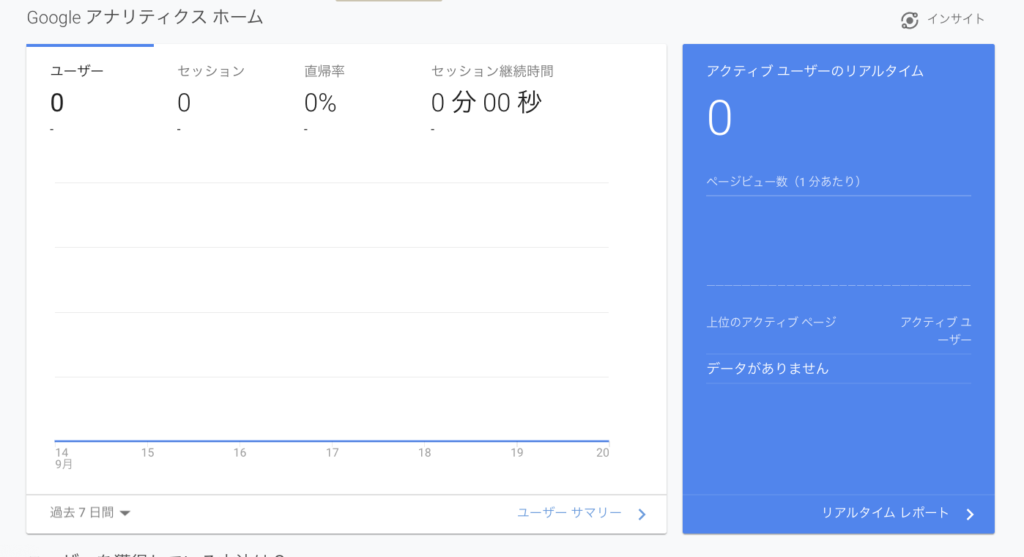
これでご自分のIP除外設定は完了です。
正しく設定ができている場合、
ご自分のブログを開いた状態でも
アナリティクスのリアルタイムの表示が0になります。
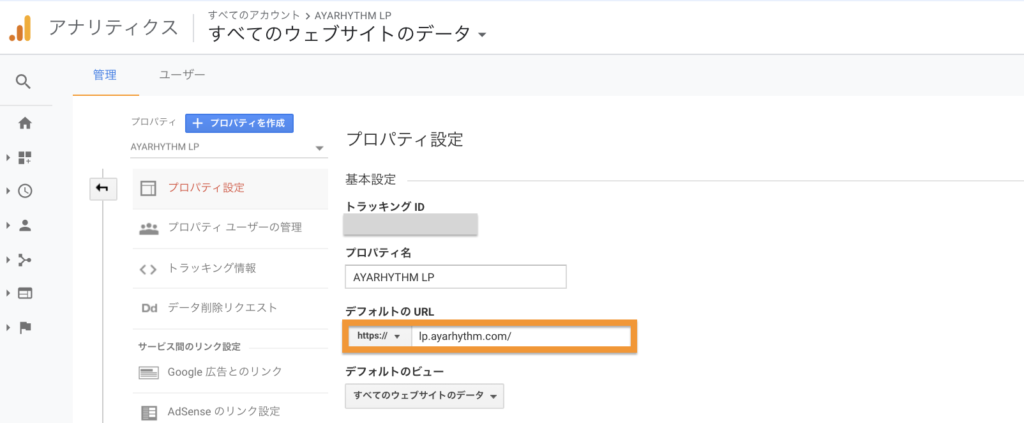
URLの設定

「管理」>「プロパティ設定」をクリックします。
デフォルトのURLの
「〇〇〇〇/」
の末尾につくスラッシュを削除しましょう。
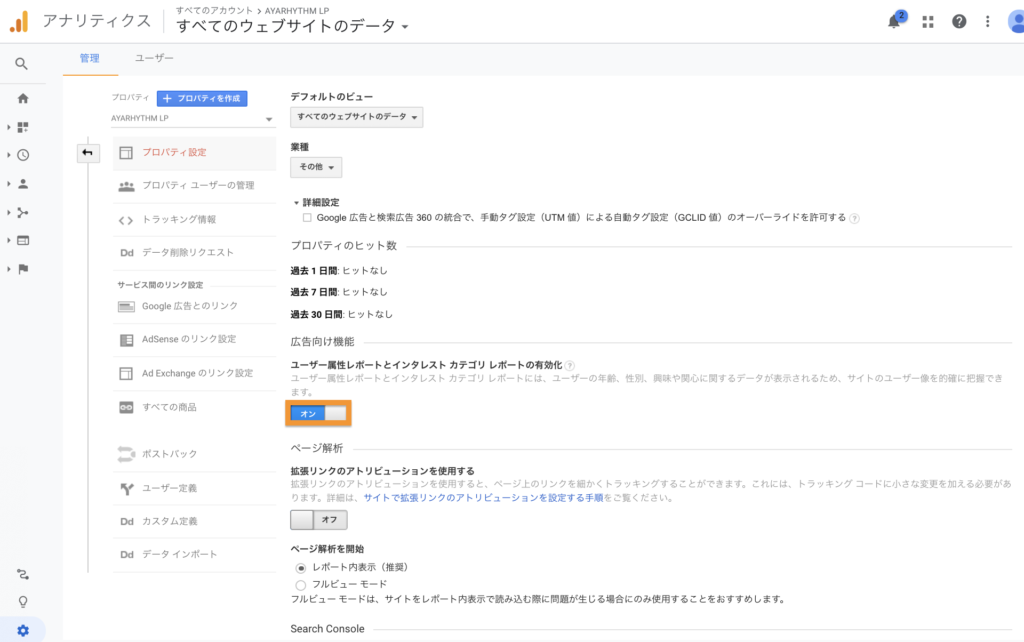
レポートの有効化
「管理」>「プロパティ設定」にある、
「ユーザー属性レポートと、インタレスト カテゴリ レポートの有効化」をオンにしましょう。
このレポートをオンにすると、
アクセスしたユーザーの年齢や性別まで解析できるようになります。
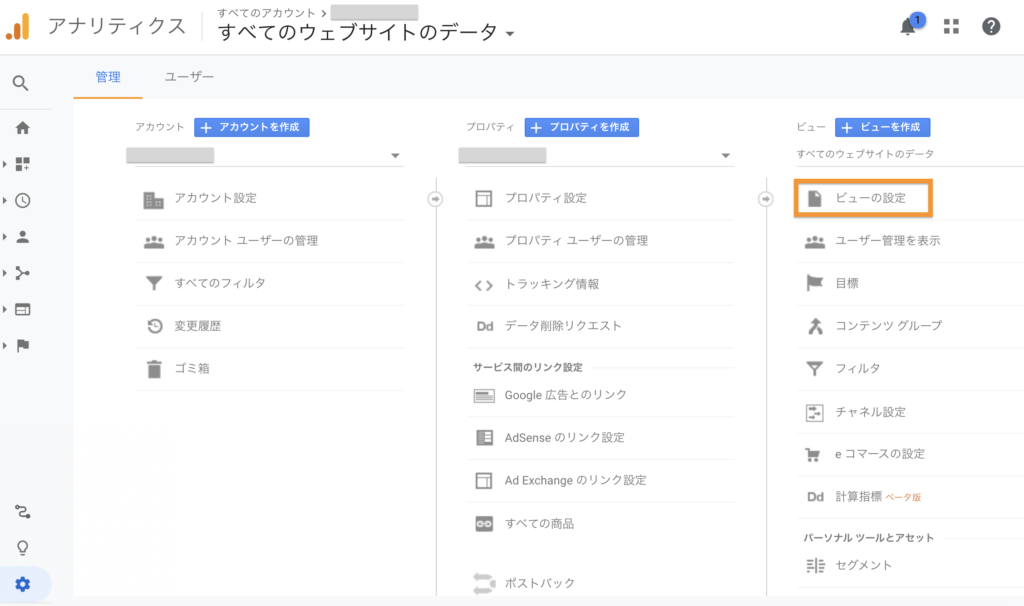
ボットのフィルタリング設定
サイトのセキュリティを向上させるため、
アナリティクスで認知している不要なスパムボットなどの
アクセスを除外する設定します。
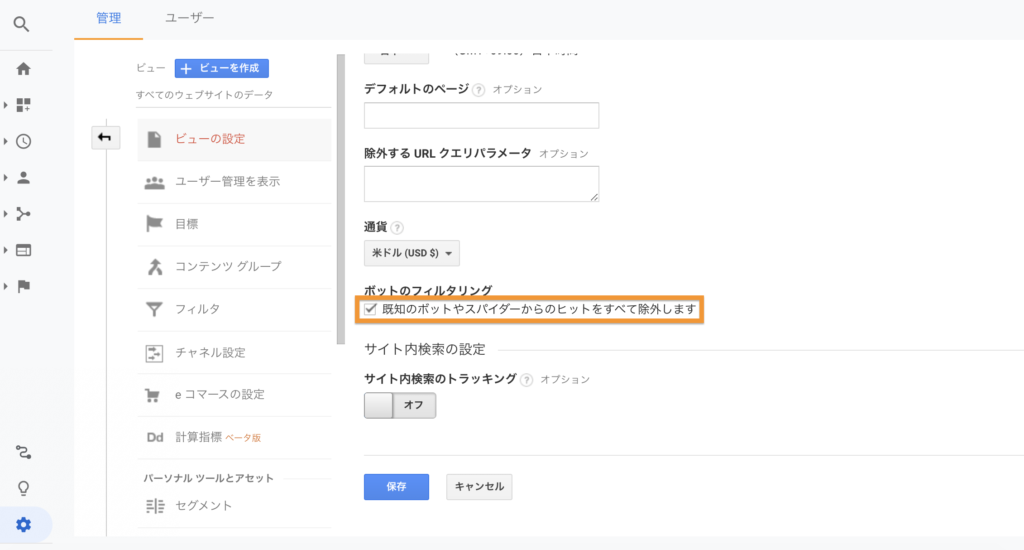
「管理」>「ビュー設定」をクリックしましょう。
「ボットのフィルタリング」にチェックを入れましょう。
 AYA
AYA以上でアナリティクスの設定は完了です!
これでブログ運営をする準備はバッチリですね。
