ブログ記事に載せた外部リンクがリンク切れしていた、
なんてことはよくあります。
リンク切れを放置しておくと
ブログ読者にとっても、SEOにとっても好ましくないため、
リンク切れを教えてくれる、
プラグイン「Broken Link Checker」を導入しましょう。
![](https://ayarhythm.com/wp-content/uploads/2020/09/新通常顔.jpg)
この記事では、Broken Link Checkerのインストール方法を紹介します!
目次
Broken Link Checkerをインストール・有効化する
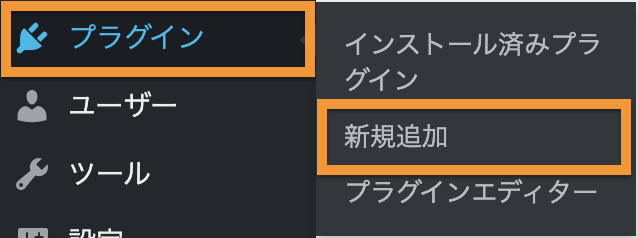
「プラグイン」>「新規追加」をクリックしましょう。
![](https://ayarhythm.com/wp-content/uploads/2020/09/スクリーンショット-2020-09-13-20.05.20.png)
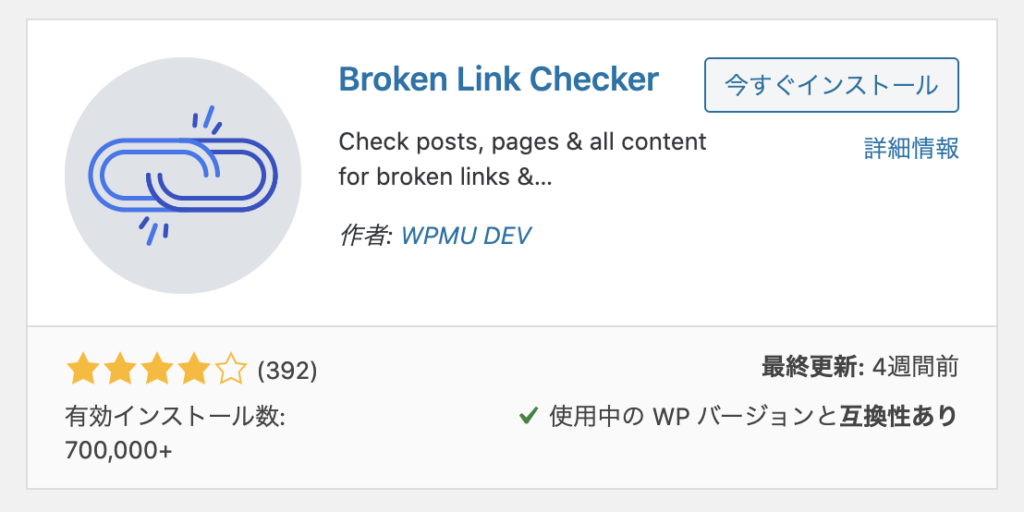
「Broken Link Checker」をインストール・有効化します。
![](https://ayarhythm.com/wp-content/uploads/2020/09/スクリーンショット-2020-09-19-13.56.28-1024x512.png)
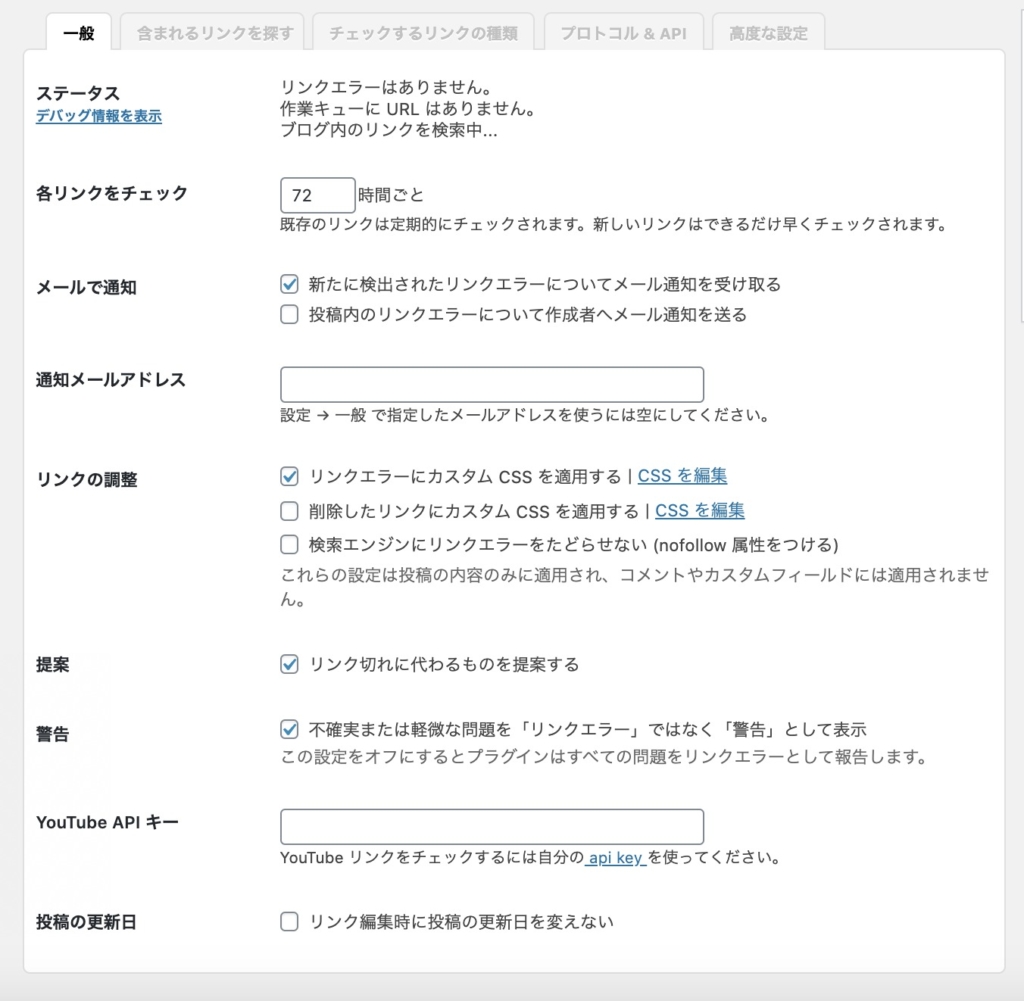
Broken Link Checkerを設定する
Broken Link Checkerの設定はデフォルトのままでOKです!
デフォルトでは
72時間おきにリンク切れがチェックされるよう設定されています。
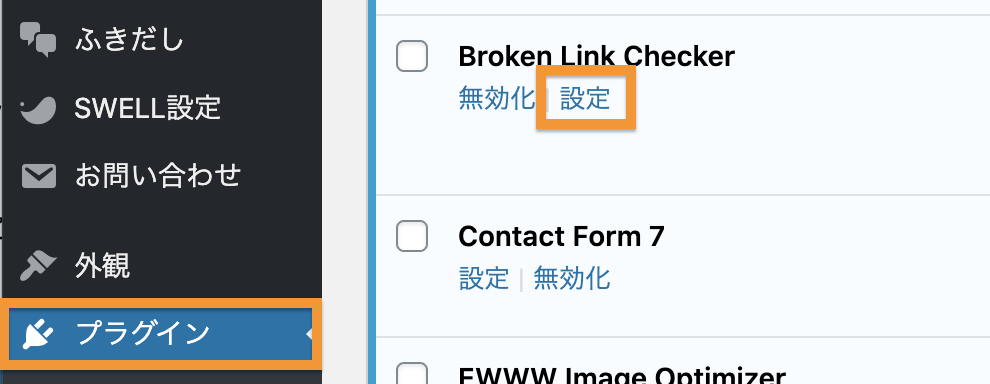
チェックの時間間隔を変更したい場合は、
「プラグイン」>「Broken Link Checker」の設定
こちらから変更しましょう。
![](https://ayarhythm.com/wp-content/uploads/2020/09/スクリーンショット-2020-09-19-14.02.24.png)
![](https://ayarhythm.com/wp-content/uploads/2020/09/スクリーンショット-2020-09-19-14.06.49-1-1024x1001.jpg)
![](https://ayarhythm.com/wp-content/uploads/2020/09/egao.jpg)
以上で、インストール完了です!