ブログ運営する中で
避けたいのはスパムコメント。
そんなスパムコメントを防いでくれるのが
プラグインのAkismetです。
 AYA
AYAこの記事では、Akismetのインストール方法を紹介します。
Akismetはスパム対策プラグイン
「Akismet」とは、
WordPress の運営会社が提供・管理している
スパム対策のプラグインです。
 AYA
AYAスパムコメントやトラックバックを不正でくれるため
管理者が安心してブログを運営できる強い味方ですね!
WordPressにはデフォルトでインストールされているので、
設定を行っていきましょう。
Akismetを設定をするには、ユーザー登録が必要ですが、
無料で設定をすることができます。
それでは早速、設定方法を見てみましょう。
Akismetの設定方法
Akismetを有効化する
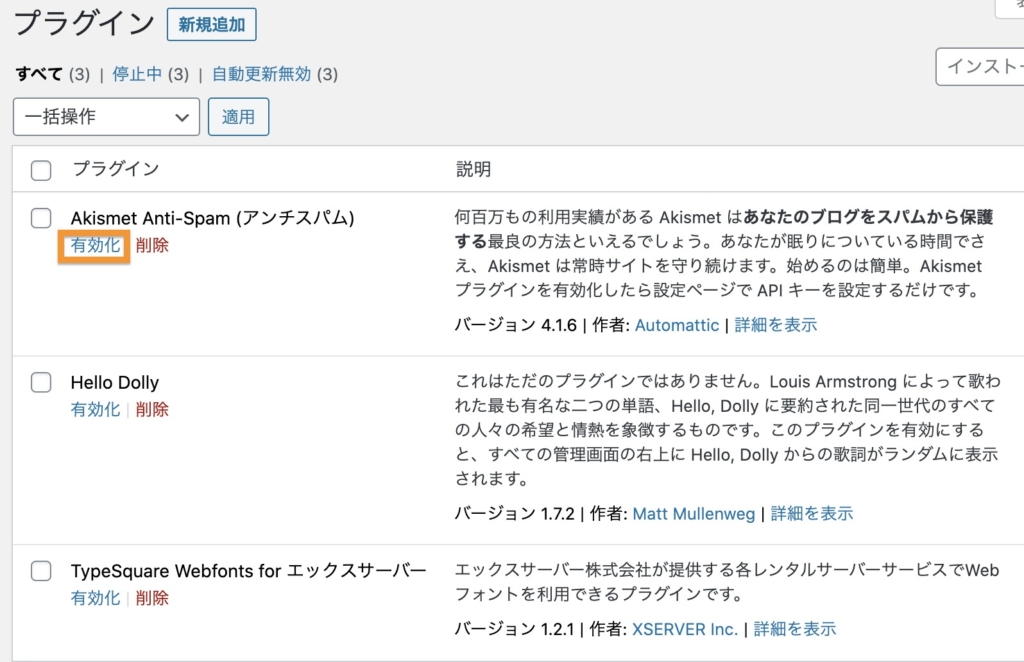
「ダッシュボード」から「プラグイン」をクリックします。
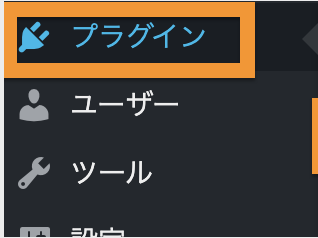
プラグインのページを開いたら、
「Akismet Anti-Spam」の有効化をクリックします。
Akismet公式サイトでアカウントを設定する
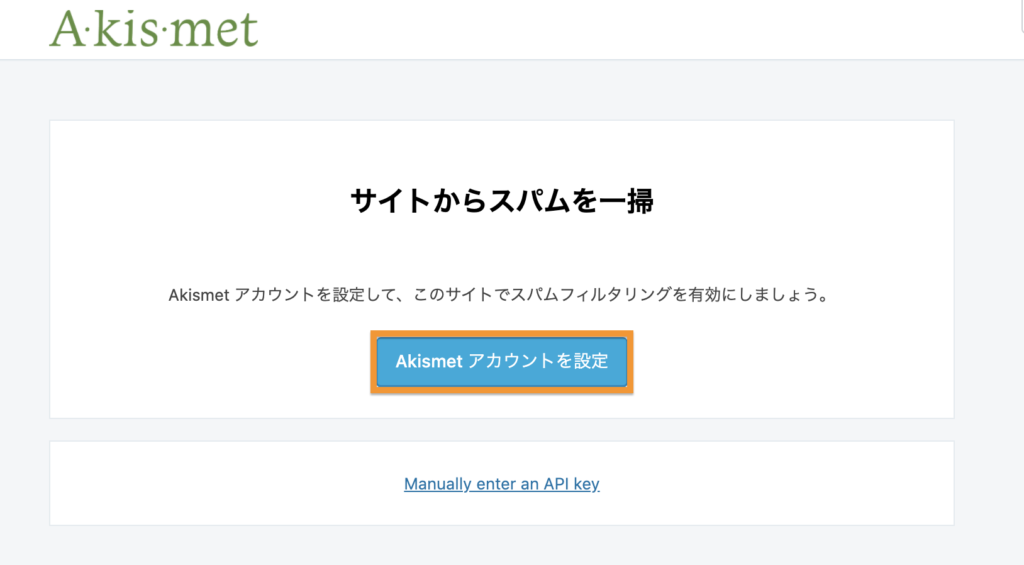
Akismetアカウントを設定をクリック
有効化をクリックすると、以下のページが開きます。
「Akismetアカウントを設定」をクリックしましょう。
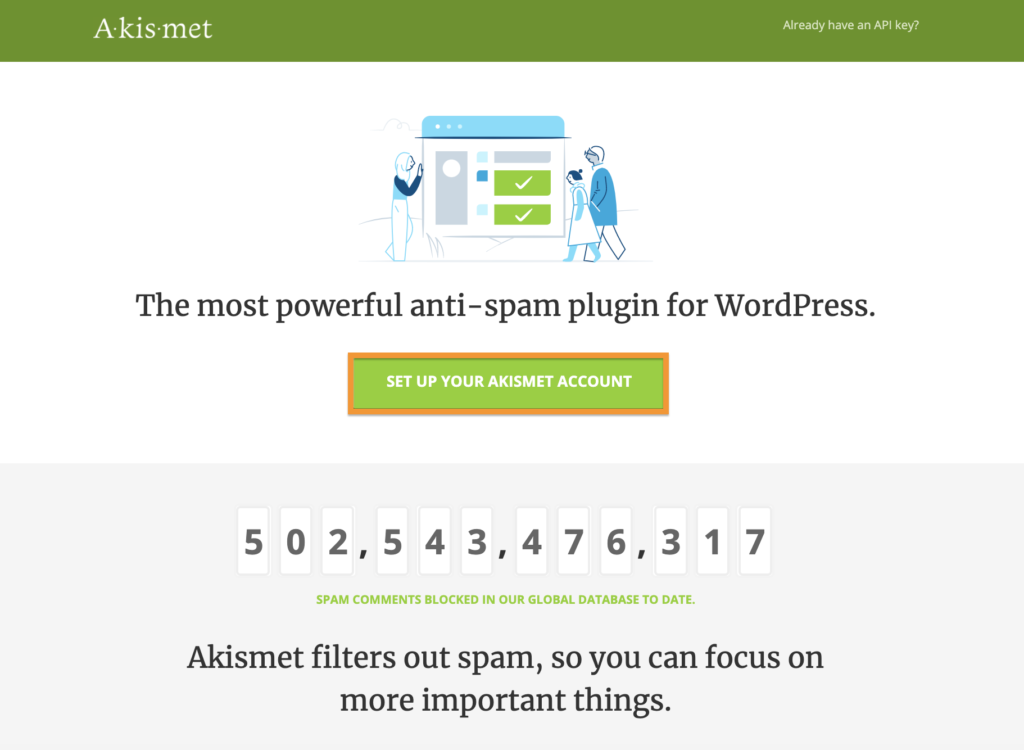
SET UP YOUR AKISMET ACCOUNTをクリック
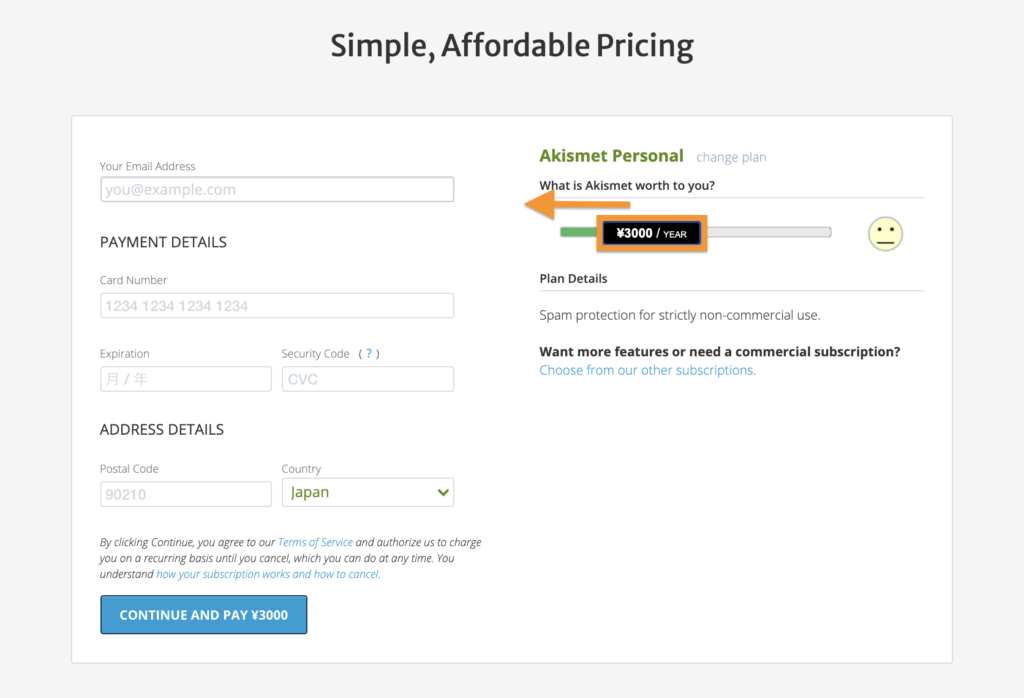
プランを選ぶ
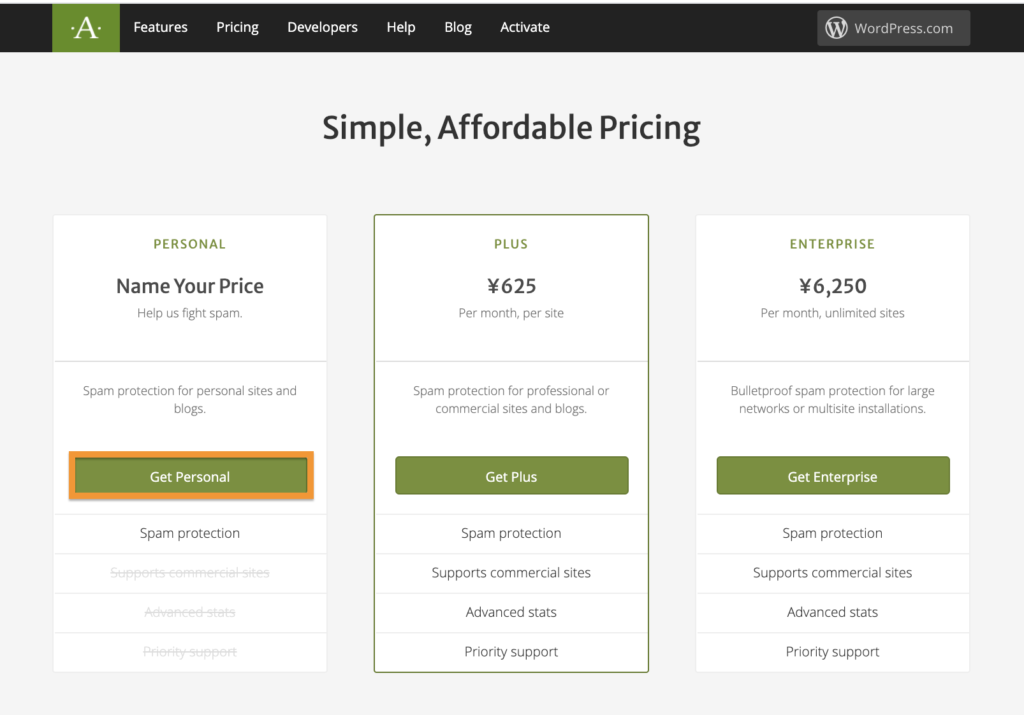
料金を0円に設定する
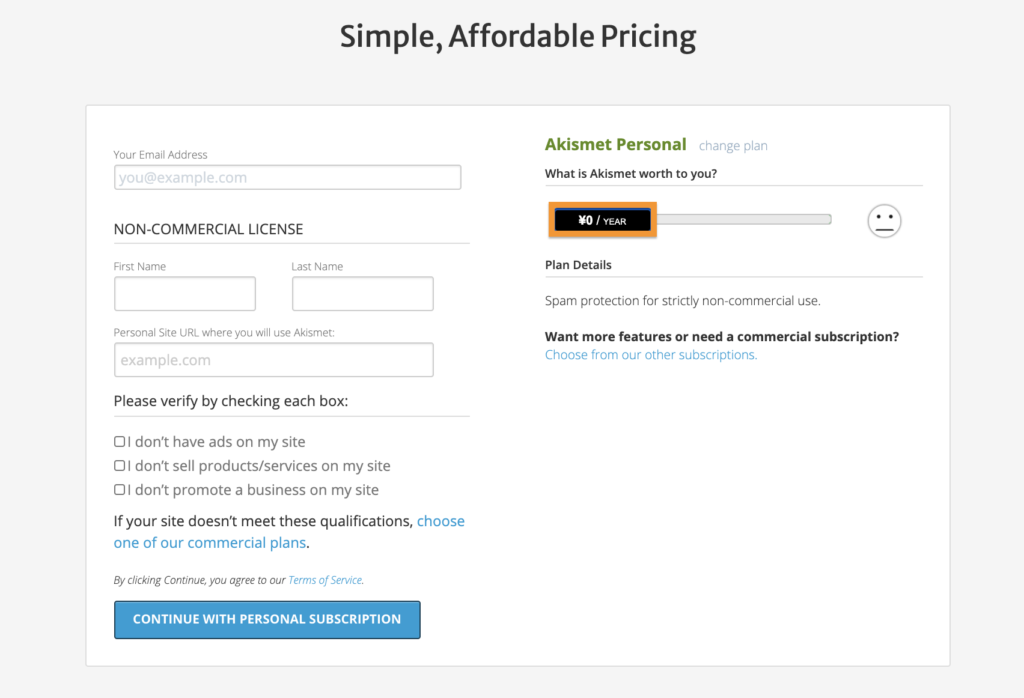
必要事項を入力する
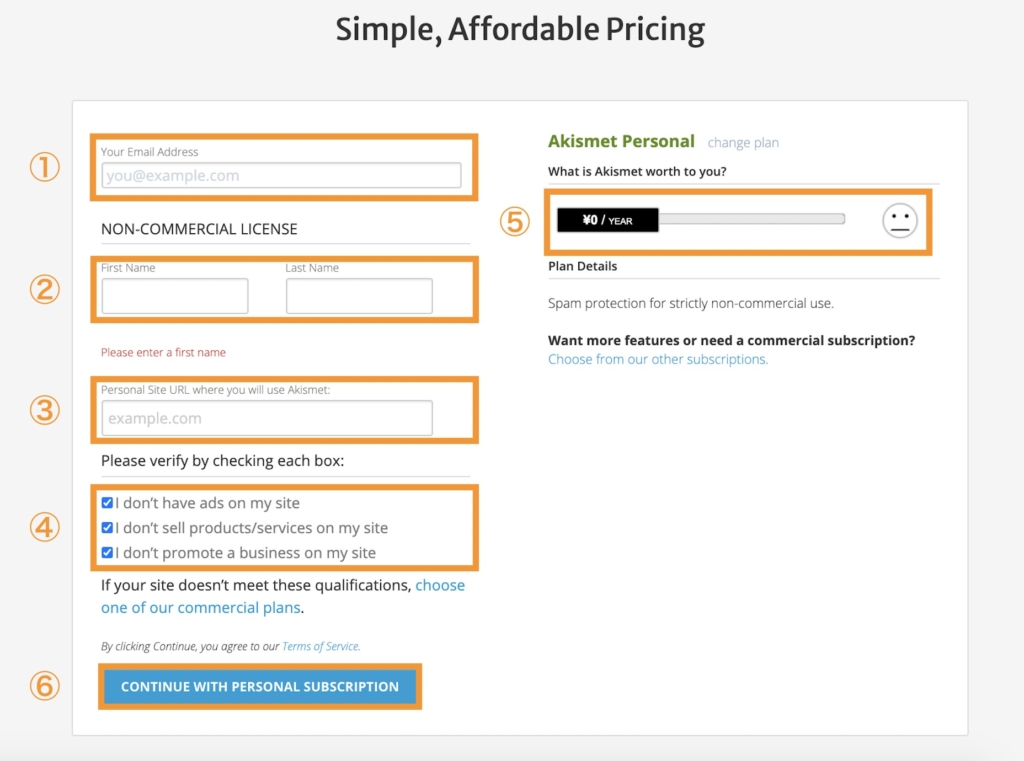
- Emailアドレスを入力する
- 名前を入力する
- Akismetを利用するURLを入力する
- 3つのチェックボックスの全てにチェックをいれる
・I don’t have ads on my site(私のサイトには広告はありません)
・I don’t sell products/services on my site(私のサイトで商品を販売していません)
・I don’t promote a business on my site(私のサイトではビジネスの宣伝をしていません) - ゼロになっていることを再チェック
- 「CONTINUE WITH PERSONAL SUBSCRIPTION」をクリックする
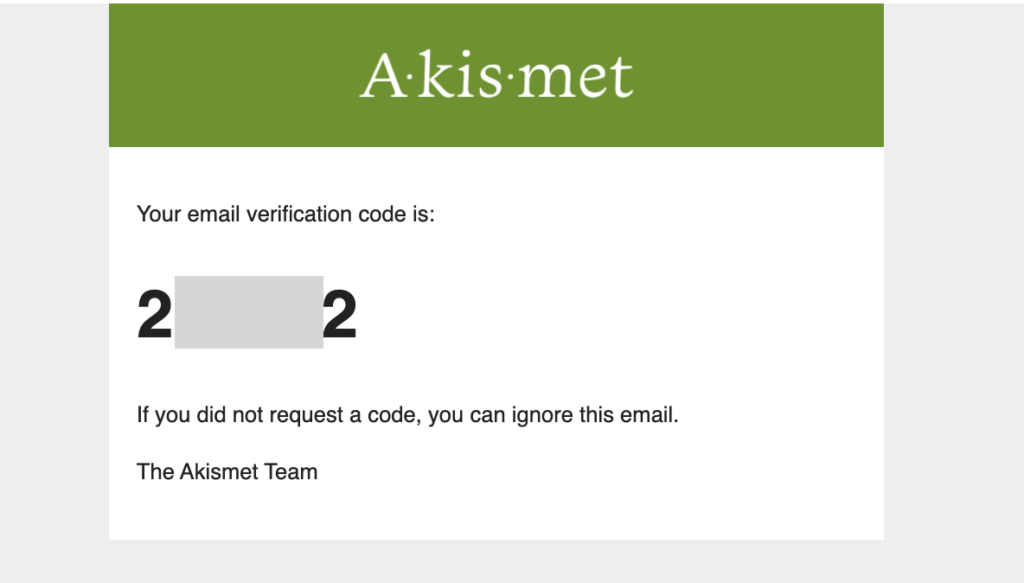
入力したEmailアドレスに認証コードが送られます。
その認証コードをコピーして貼り付けて
「Continue」をクリックします。
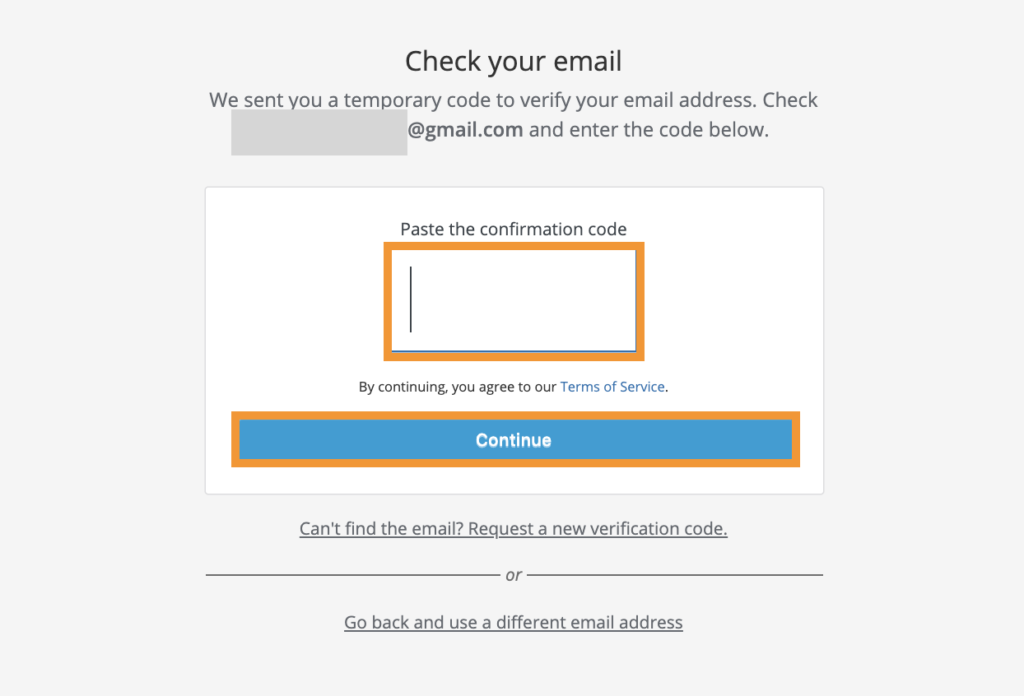
※こちらがEmailアドレスに送られてくる認証コード。
Akismetアカウントの設定完了
これでAkismetのアカウント設定は完了です。
続いては、ワードプレス側で設定を行います。
ワードプレスでAkismetの設定をする
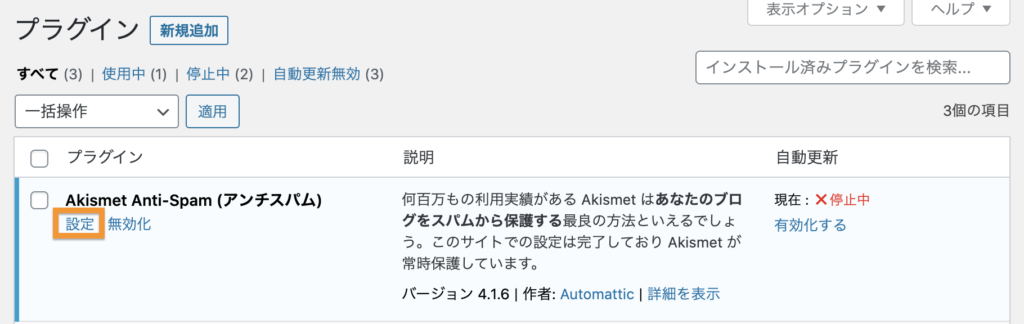
プラグイン画面からAkismetの設定をクリック
再びワードプレスの、プラグイン画面に移動し、
Akismetの「設定」をクリックします。
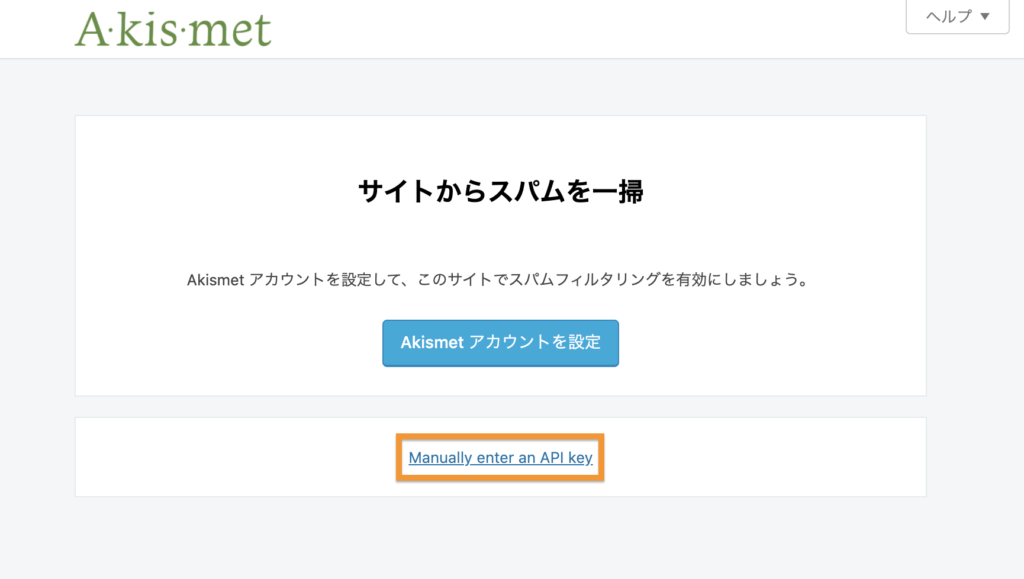
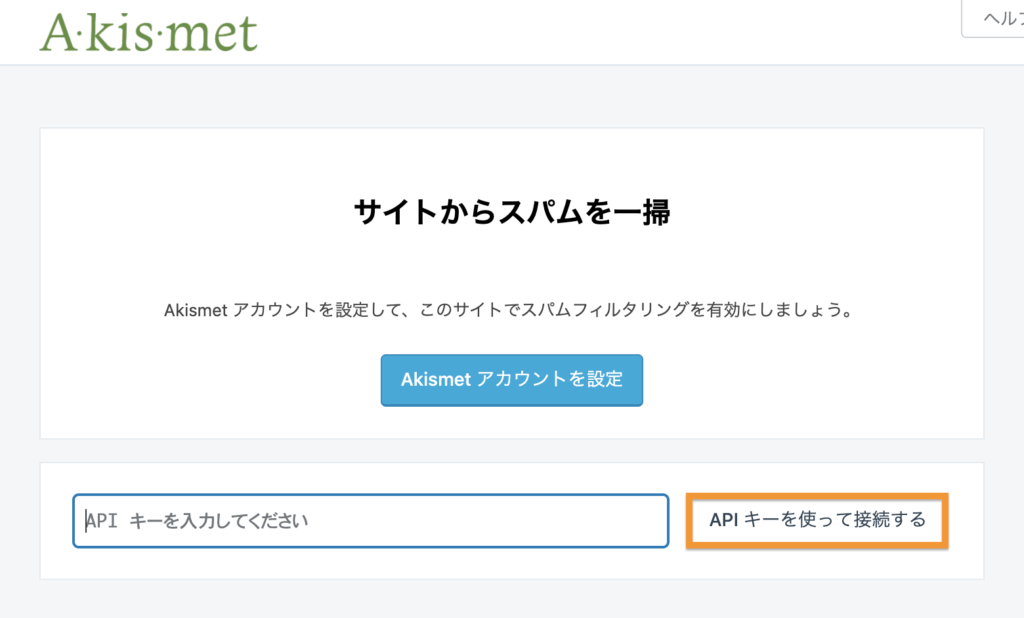
Manually enter an API keyをクリックする
「設定」をクリックすると、以下の画面が開きます。
「Manually enter an API key」をクリックします。
API keyを入力する
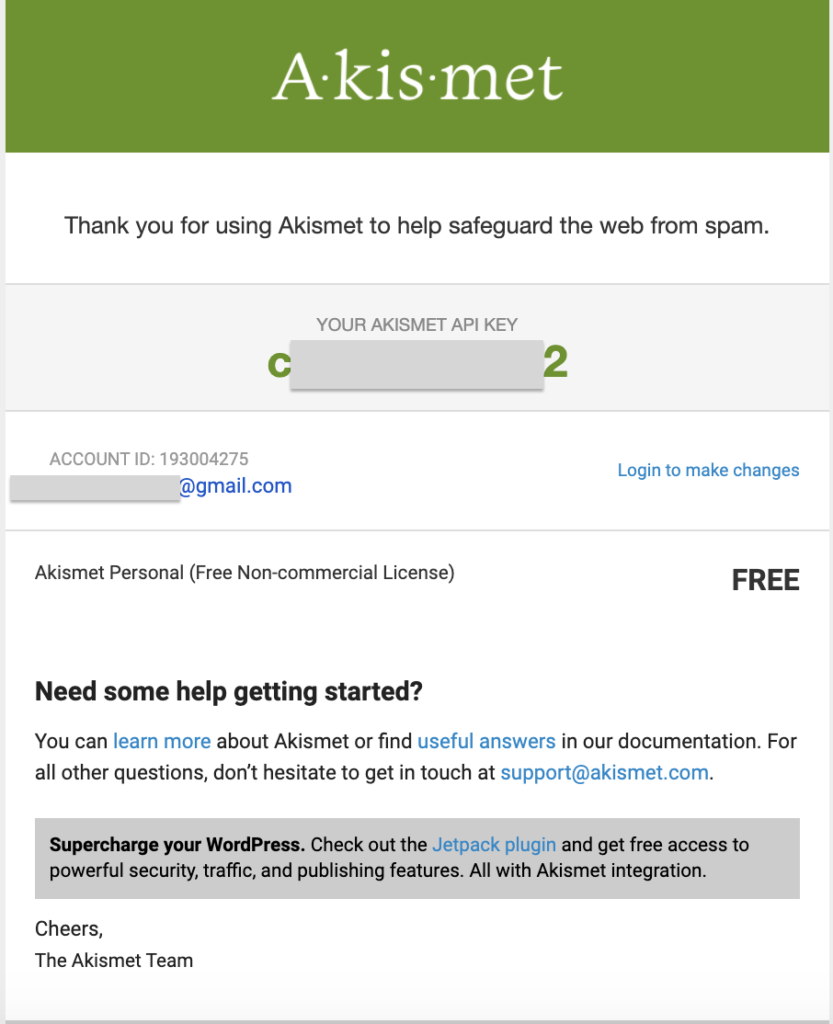
Akismetのアカウントを設定時に入力したEmailアドレスに
APIキーが送信されています。
そのAPIキーをコピーして貼り付け、
「APIキーを使って接続する」をクリックする。
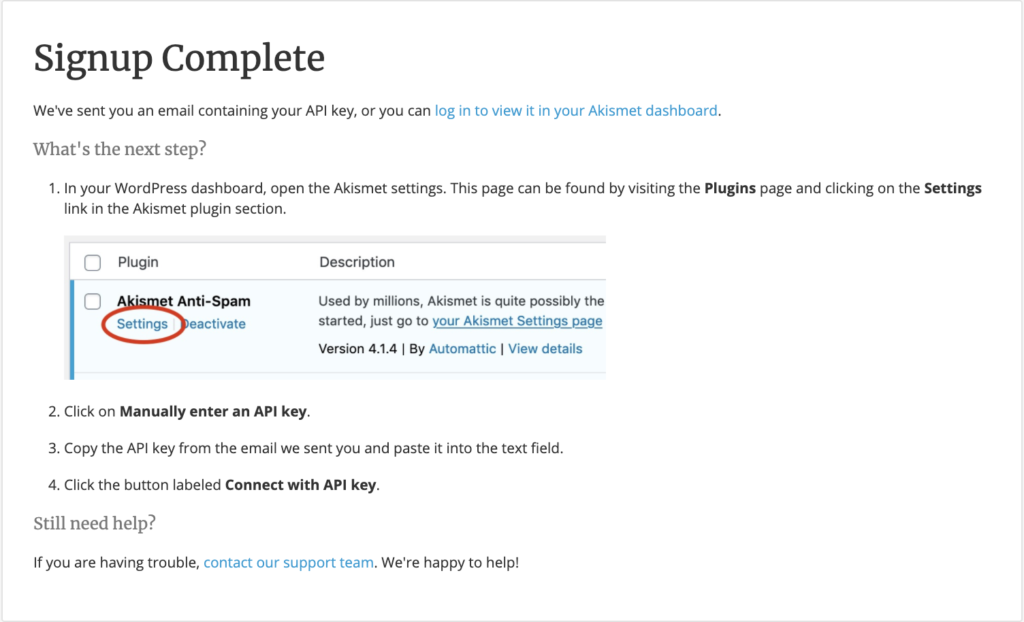
※ 登録したEmailアドレスに、以下のメールが届きます。
「YOUR AKISMET API KEY」の下に表示されている英数字が「APIキー」です。
Akismetの設定完了
これでAkismetの設定は完了です。
 AYA
AYA安心してブログ運営ができますね!